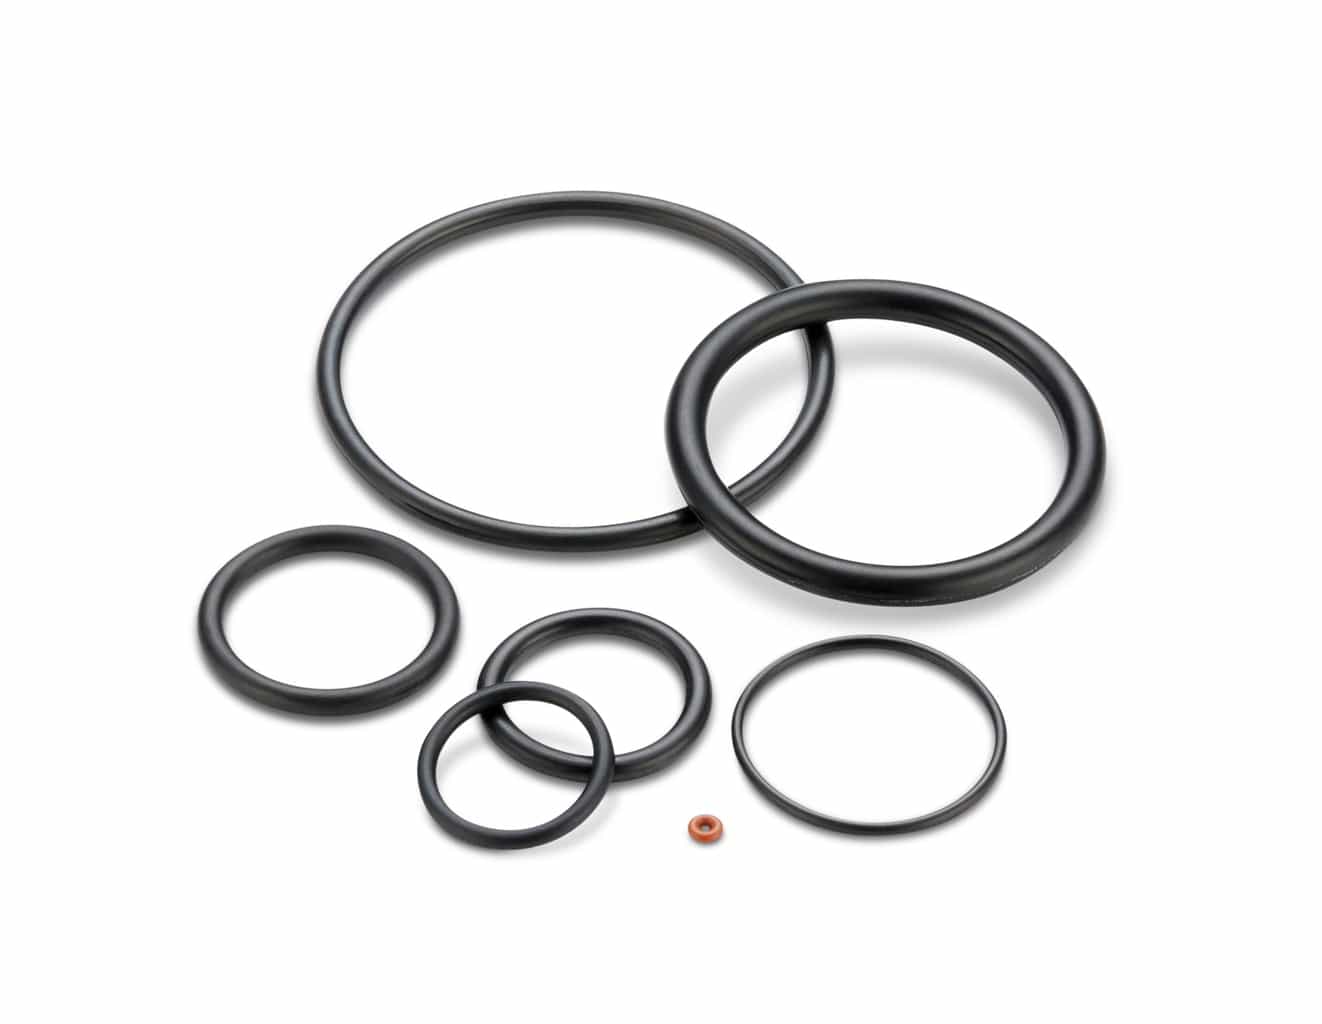
Quad-Ring® Brand Seals for Rotary Applications With Oil
Quad-Ring® Brand Seals for Rotary Applications With Oil
Quad-Ring® Brand seals offer low friction for long life in hydraulic systems with surface speeds up to 900 FPM (4.5 m/sec)
Quad-Ring® Brand seals should operate in a seal groove with a maximum diametral clearance of 0.004 in (0.10 mm) and a maximum pressure of 750 psi (52 bar). There must be a minimum of 10 psi oil pressure to properly lubricate the seal.
The table below contains groove dimensions for some common shaft sizes. The example here illustrates how to calculate the groove dimensions for other shaft sizes. To calculate the proper groove diameter, select a Quad-Ring® Brand seal from the Standard Size Seal Table with the desired cross-section having an ID slightly larger than the maximum shaft diameter (shaft diameter at the high end of its tolerance). The rotary seal groove diameter is calculated as:
Maximum Groove Diameter=
Minimum Shaft Diameter + (2 x Minimum Seal Cross-section) – 0.004 inches [0.10 mm]
Tip: To quickly locate the proper rotary seal Quad-Ring® Brand size in the Standard Size Seal Table, turn to the section of the table for the seal cross-section size you have chosen. Then, using the Rod (shaft) size column, find the seal number for the shaft size you are using, as listed in the table. Move down one row in the table and check the seal ID for the next larger seal size. This will usually be the correct seal for a rotary application. Remember that as explained here, for a rotary seal application the uninstalled Quad-Ring® Brand seal inside diameter should always be larger than the shaft diameter.
Recommended Initial Groove Design Dimensions for Rotary Applications
Note: This table is for use with rotary applications only.
| Rotary Seal Quad-Ring® Brand Size | Shaft Dia. | Seal Cross-Section | Groove Dia. | Axial Groove Width | ||||
|---|---|---|---|---|---|---|---|---|
| (in) | (mm) | (in) | (mm) | (in) +0.001/-0.001 | (mm) +0.03/-0.03 | (in) +0.005/-0.000 | (mm) +0.13/-0.00 | |
| Q4007 | 0.125 | 3.18 | 0.070 ±0.003 | 1.78 ±0.08 | 0.255 | 6.48 | 0.080 | 2.03 |
| Q4008 | 0.156 | 3.96 | 0.070 ±0.003 | 1.78 ±0.08 | 0.286 | 7.26 | 0.080 | 2.03 |
| Q4009 | 0.188 | 4.78 | 0.070 ±0.003 | 1.78 ±0.08 | 0.318 | 8.08 | 0.080 | 2.03 |
| Q4010 | 0.218 | 5.54 | 0.070 ±0.003 | 1.78 ±0.08 | 0.348 | 8.84 | 0.080 | 2.03 |
| Q4011 | 0.250 | 6.35 | 0.070 ±0.003 | 1.78 ±0.08 | 0.380 | 9.65 | 0.080 | 2.03 |
| Q4011 | 0.281 | 7.14 | 0.070 ±0.003 | 1.78 ±0.08 | 0.411 | 10.44 | 0.080 | 2.03 |
| Q4110 | 0.312 | 7.92 | 0.103 ±0.003 | 2.62 ±0.08 | 0.508 | 12.90 | 0.110 | 2.79 |
| Q4111 | 0.375 | 9.53 | 0.103 ±0.003 | 2.62 ±0.08 | 0.571 | 14.50 | 0.110 | 2.79 |
| Q4112 | 0.437 | 11.10 | 0.103 ±0.003 | 2.62 ±0.08 | 0.633 | 16.08 | 0.110 | 2.79 |
| Q4113 | 0.500 | 12.70 | 0.103 ±0.003 | 2.62 ±0.08 | 0.696 | 17.68 | 0.110 | 2.79 |
| Q4114 | 0.562 | 14.27 | 0.103 ±0.003 | 2.62 ±0.08 | 0.758 | 19.25 | 0.110 | 2.79 |
| Q4115 | 0.625 | 15.88 | 0.103 ±0.003 | 2.62 ±0.08 | 0.821 | 20.85 | 0.110 | 2.79 |
| Q4117 | 0.750 | 19.05 | 0.103 ±0.003 | 2.62 ±0.08 | 0.946 | 24.03 | 0.110 | 2.79 |
| Q4118 | 0.812 | 20.62 | 0.103 ±0.003 | 2.62 ±0.08 | 1.008 | 25.60 | 0.110 | 2.79 |
| Q4119 | 0.875 | 22.23 | 0.103 ±0.003 | 2.62 ±0.08 | 1.071 | 27.20 | 0.110 | 2.79 |
| Q4120 | 0.937 | 23.80 | 0.103 ±0.003 | 2.62 ±0.08 | 1.133 | 28.78 | 0.110 | 2.79 |
| Q4121 | 1.000 | 25.40 | 0.103 ±0.003 | 2.62 ±0.08 | 1.196 | 30.38 | 0.110 | 2.79 |
| Q4122 | 1.062 | 26.97 | 0.103 ±0.003 | 2.62 ±0.08 | 1.258 | 31.95 | 0.110 | 2.79 |
| Q4123 | 1.125 | 28.58 | 0.103 ±0.003 | 2.62 ±0.08 | 1.321 | 33.55 | 0.110 | 2.79 |
| Q4124 | 1.187 | 30.15 | 0.103 ±0.003 | 2.62 ±0.08 | 1.383 | 35.13 | 0.110 | 2.79 |
| Q4125 | 1.250 | 31.75 | 0.103 ±0.003 | 2.62 ±0.08 | 1.446 | 36.73 | 0.110 | 2.79 |
| Q4126 | 1.312 | 33.32 | 0.103 ±0.003 | 2.62 ±0.08 | 1.508 | 38.30 | 0.110 | 2.79 |
| Q4127 | 1.375 | 34.93 | 0.103 ±0.003 | 2.62 ±0.08 | 1.571 | 39.90 | 0.110 | 2.79 |
| Q4129 | 1.500 | 38.10 | 0.103 ±0.003 | 2.62 ±0.08 | 1.696 | 43.08 | 0.110 | 2.79 |
| Q4133 | 1.750 | 44.45 | 0.103 ±0.003 | 2.62 ±0.08 | 1.946 | 49.43 | 0.110 | 2.79 |
| Q4137 | 2.000 | 50.80 | 0.103 ±0.003 | 2.62 ±0.08 | 2.196 | 55.78 | 0.110 | 2.79 |